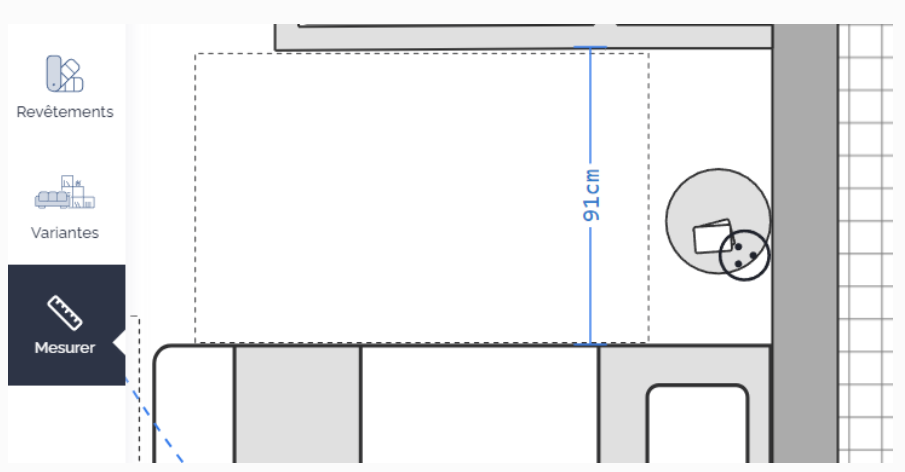
To take measurements on your plan, use the measurement ruler located in the menu on the left side of your screen in your customizations management interface. Simply click on a point on the plan, then drag the line to a second point, and click a second time to complete your measurement.
You can take as many measurements as you want on the plan. When you're done, press the Escape key on your keyboard to make the measurements disappear.
The measurements will not be saved on the plan sent to the client.
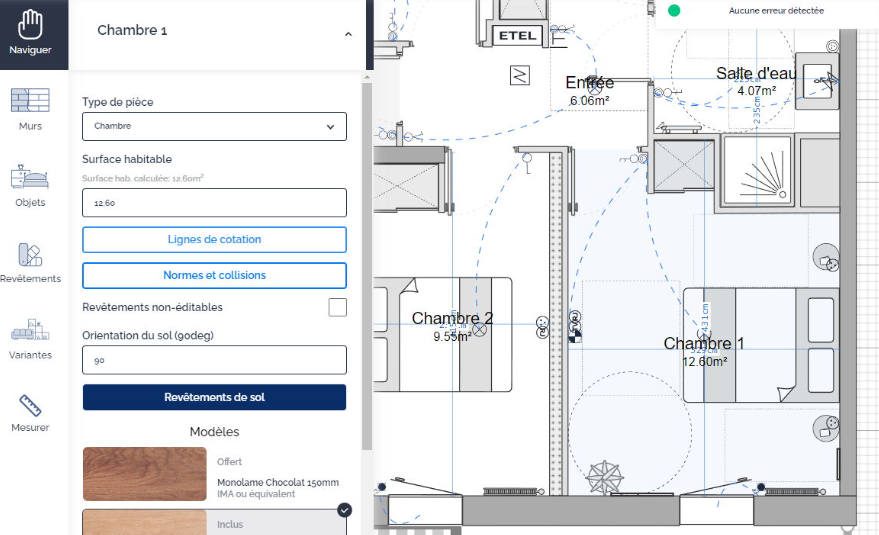
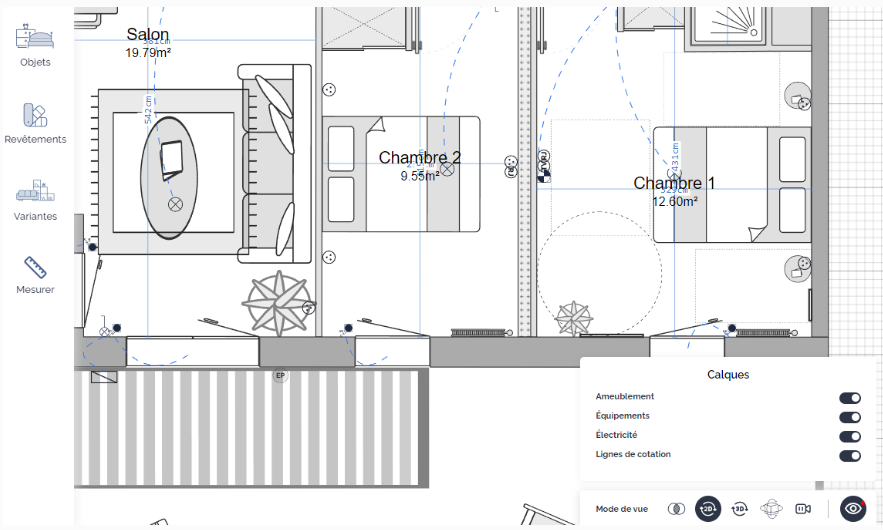
You can also activate the room measures on your plan to display them in all rooms.
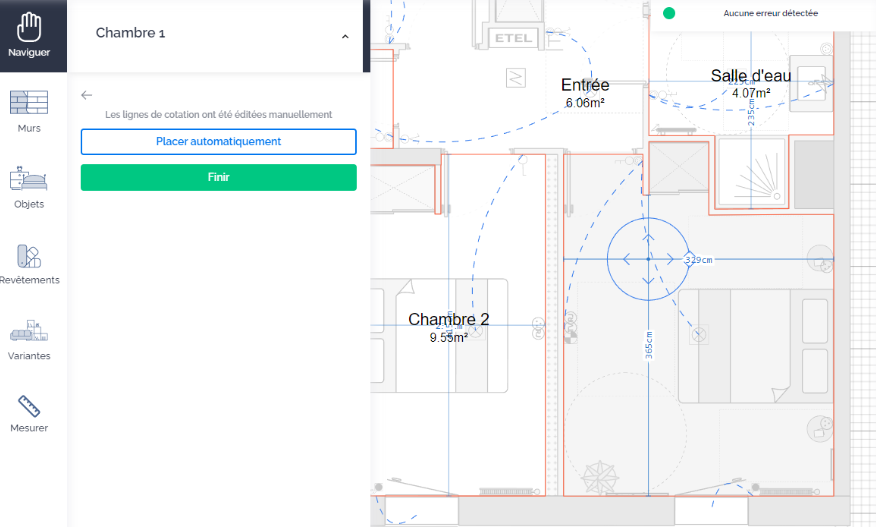
You can move the lines from the menu of each room to place them in the desired location. Click the "Measure Lines" button, move them on the plan in the concerned room, then click finish.